
If you’re looking for a simple way to preserve your fall harvest, learning how to dehydrate apples is the perfect place to start. It’s fast, dependable, and makes a snack everyone loves.
I started dehydrating apples when my kids were small, and it quickly became one of our favorite ways to use up the fall abundance. Now it’s one of my favorite ways to preserve the fall abundance, right up there with dehydrating zucchini and freezing tomatoes in the summer.
This post may contain affiliate links. Read my full disclosure here.
Why Dehydrate Apples?
Before we get into the how, let’s talk about the why to dehydrate apples. Because honestly, there are easier snacks to buy at the store.
- They last forever. Well, not literally forever, but properly dehydrated and stored apples will keep for a year or more. That means you can enjoy your September harvest well into the following summer.
- No special equipment required. You don’t need a fancy dehydrator (though it helps). An oven works just fine.
- They’re incredibly versatile. Dried apples aren’t just for snacking. I use them in oatmeal, trail mix, baked goods, tea, and even rehydrate them for pies when fresh apples aren’t in season.
- You control what goes in them. Store-bought dried apples often have sulfites, added sugar, or preservatives. When you make your own, it’s just apples. That’s it.
- They don’t take up much space. A bushel of fresh apples reduces down to maybe a gallon jar of dried apple slices. For those of us with limited storage, that’s huge.

Choosing the Best Apples to Dehydrate
You can dehydrate just about any apple you have on hand. If it’s an apple, it’ll dry. But certain varieties give you better texture and flavor once they’re dehydrated.
Use apples that are ripe but still firm. Overripe apples tend to brown faster and can get a little mushy as they dry. Bruised spots are totally fine—just cut them out.
Great choices for dehydrating (but not required):
- Fuji
- Gala
- Honeycrisp
- Granny Smith
- Jonathan
- Pink Lady
These varieties hold their shape well and keep a strong flavor after drying. Tart apples like Granny Smith stay bright and crisp, while sweeter varieties like Fuji and Gala make more dessert-like apple chips.
But truly—use whatever apples you have. Mixed varieties actually make some of the most interesting (and delicious) batches.

What You’ll Need to Dehydrate Apples
- Apple peeler/corer/slicer tool (absolute game-changer)
- Sharp knife
- Cutting board
- Dehydrator or oven
- Airtight containers
Optional:
- Parchment paper and baking sheet if using an oven
- Vaccum sealer (or heat sealer) and oxygen absorbers for long-term storage
- My homemade apple pie spice for flavored apple chips
I resisted buying an apple peeler/corer/slicer for years because I thought it was unnecessary. But honestly? It’s one of those essential tools that earns its keep. I can process a whole apple in about 10 seconds, and the uniform slices dry so much more evenly.

How to Prepare Apples for Dehydrating
This is where most of the actual work happens. Once they’re prepped, the dehydrator does the rest.
1: Wash your apples: Even if they’re from your own trees. Give them a good rinse and dry them off.
2: Use the peeler/corer/slicer: Run each apple through your peeler/corer/slicer tool. This gives you perfect spiral-cut rings in seconds.
3: Cut the rings in half: Take those long spiral rings and cut them in half. This makes them easier to eat and store, and they dry a bit more evenly, too.
4: Optional pre-treatment: Here’s the thing about browning: yes, apples will oxidize and turn brown if you don’t treat them. But they’re still perfectly safe and delicious. I usually skip this step entirely because I don’t mind the darker color, and it saves time.
5: Season if desired: This is where it gets fun. Plain dried apples are wonderful, but sometimes I’ll sprinkle them with my apple pie spice blend before dehydrating. Cinnamon, nutmeg, a little allspice (or ginger)—it turns them into apple pie chips that disappear faster than I can make them.

How to Dehydrate Apples (Two Ways)
1. Using a Dehydrator (My Preferred Method)
This is the easiest and most consistent way to dry apples. I use a basic Nesco dehydrator that I’ve had for years.
- Arrange apple slices in a single layer on dehydrator trays. They can touch but shouldn’t overlap.
- Set the temperature to 135°F.
- Dehydrate for 8-12 hours, checking around the 8-hour mark.
- Rotate trays once or twice during the process for even drying.
They’re done when they’re leathery and pliable with no moisture pockets. Some people like them crispy like chips—just leave them in longer. The house will smell incredible. Fair warning.
2. Using an Oven
Don’t have a dehydrator? Your oven works fine, though it uses more energy and requires more attention.
- Preheat oven to the lowest setting (170-200°F ideally).
- Line baking sheets with parchment paper.
- Arrange apple slices in a single layer.
- Place in the oven and prop the door open slightly with a wooden spoon to allow moisture to escape.
- Dry for 6-10 hours, flipping slices every 2 hours.
- Check frequently after 6 hours to prevent over-drying.
The timing varies significantly based on your oven and how thick you slice the apples. Just keep checking.

How to Tell When They’re Done
This is where beginners often struggle. Under-dried apples will mold in storage. Over-dried apples turn brittle and lose flavor.
Perfectly dried apples should:
- Be pliable and leathery, not sticky
- Have no visible moisture when you tear one in half
- Not feel wet or damp to the touch
- Be slightly crispy on the edges but still bendable
When you think they’re done, pull a few pieces and let them cool to room temperature. They’ll firm up a bit as they cool. If they still feel moist or leave moisture on your hands, put them back in for another hour or two.
How to Store Dehydrated Apples
This part is just as important as the drying itself. Improperly stored dried apples can reabsorb moisture and spoil.
Before final storage, I condition my dried apples. Put them in a large jar, filling it about ⅔ full. Shake it daily for a week. If you see condensation forming inside the jar, the apples need more drying time.

Storage options:
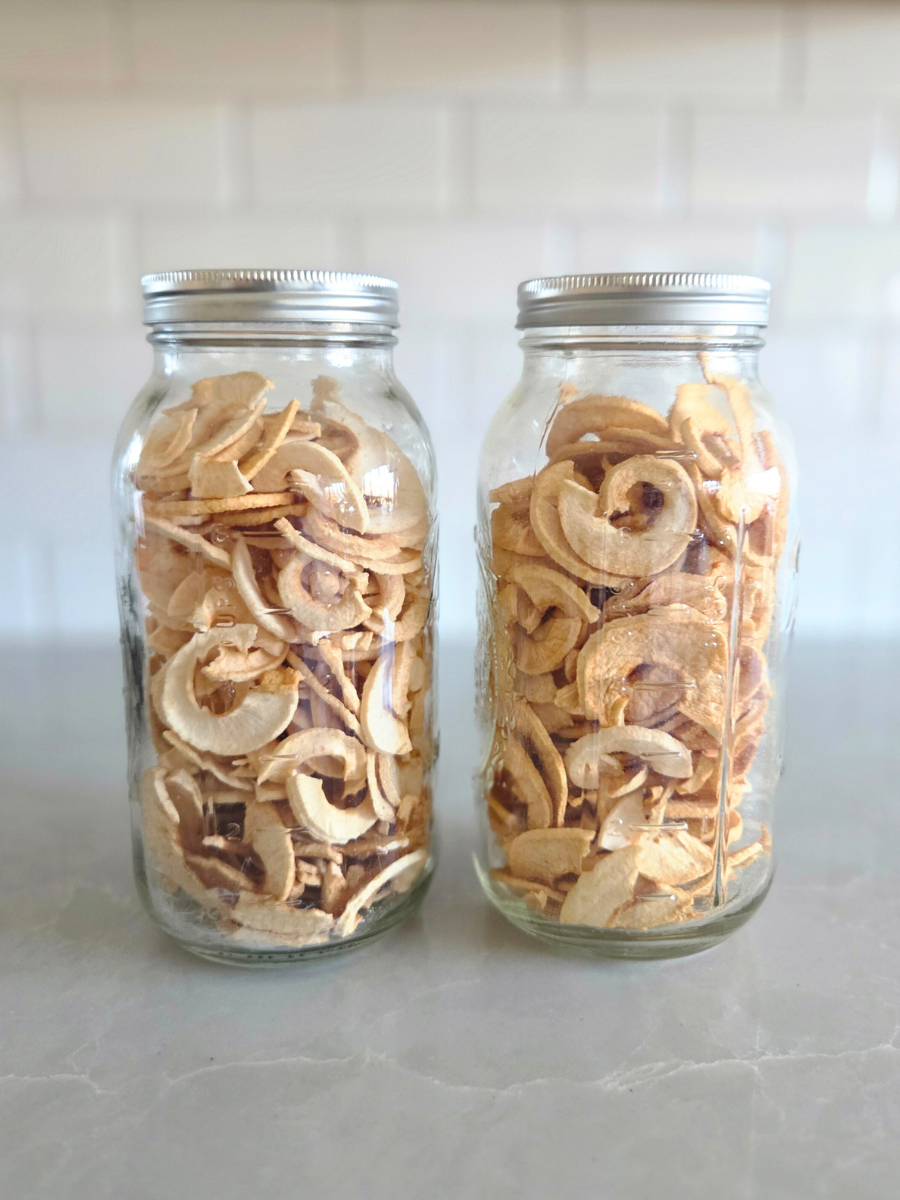
- Mason jars with tight lids (my go-to)
- Vacuum-sealed bags
- Mylar bags with oxygen absorbers for long-term storage
- Freezer bags with air pressed out.
Store in a cupboard or pantry. I keep mine in half-gallon or quart jars in the pantry, and they last all year.
Label everything with the date. You think you’ll remember when you dried them. You won’t.
Ways to Use Dehydrated Apples
- Straight from the jar: The simplest option. They make great lunchbox snacks or a quick energy boost during afternoon chores.
- Rehydrated: Cover with hot water or apple juice and let sit for 15-20 minutes. Use in pies, crisps, or compote. They won’t have quite the same texture as fresh, but the flavor is there.
- In oatmeal: Toss a handful into your morning oats while they cook. They rehydrate as the oatmeal cooks, adding natural sweetness.
- Trail mix: Combine with nuts, seeds, and dark chocolate chips. This is what I pack when we’re working outside all day.
- Baked goods: Chop them up and add to muffins, bread, or granola.
- Apple tea: Simmer dried apple slices with cinnamon in water for a simple, naturally sweet tea.
- Gifts: Pack them in pretty jars with a ribbon. People are always impressed by homemade dried fruit.
Common Problems and Solutions
- Apples turning too brown: This is just oxidation, and it’s completely normal if you skip the pre-treatment step. They taste just fine. If you want lighter apples, soak them in lemon water before drying.
- Taking forever to dry: Your dehydrator or oven might not be hot enough. Aim for at least 135°F. Also, make sure you cut the rings in half—the shorter pieces dry more efficiently.
- Some pieces done before others: The apple peeler/corer/slicer helps with this since it creates uniform thickness. Also, rotate your trays if using a dehydrator.
- Apples sticking to trays: This usually means they weren’t quite dry enough when you removed them. Parchment paper or non-stick dehydrator sheets can help.
- Apples getting moldy in storage: They weren’t dry enough, or moisture got into the storage container. Make sure they’re completely dry and your containers are airtight.

Why This Skill Matters
Learning to dehydrate apples changed how I think about preserving. It’s not just about saving money (though that’s nice). It’s about knowing that when apple season ends, I’m not done with apples. I have jars and jars of them, ready whenever I need them.
It’s the same reason I dehydrate zucchini every summer—preserving food yourself gives you an incredible sense of security and capability. You’re not dependent on the grocery store. You’re not throwing away produce because it went bad before you could use it. You’re taking what the season gives you and making it last.
Start with a small batch—maybe three or four apples. See how it goes. Figure out if you like them chewy or crispy, plain or seasoned with apple pie spice. Then next fall, when your trees (or your neighbor’s trees, or the orchard down the road) are loaded with fruit, you’ll know exactly what to do.

How to Dehydrate Apples
Equipment
- Sharp knife
- Cutting board
- Apple peeler/corer/slicer
- Dehydrator or oven
- Airtight containers
Ingredients
- fresh apples any firm variety
Instructions
- Wash apples thoroughly and pat dry.
- Peel, core, and slice into ¼-inch rings (or use an apple peeler/corer/slicer).
- Cut spiral slices in half for more even drying.
- Optional: Soak slices in lemon water for 5 minutes to reduce browning.
- Arrange slices in a single layer on dehydrator trays or parchment-lined baking sheets.
Method 1: Dehydrator
- Set dehydrator to 135°F.
- Dry apples for 8–12 hours, rotating trays as needed.
- Apples are ready when leathery and fully dry with no moisture pockets.
Method 2: Oven
- Set oven to its lowest temperature (170–200°F).
- Place trays in oven and prop the door open slightly to allow moisture to escape.
- Dry for 6–10 hours, flipping slices every 2 hours.
- Check often after the 6-hour mark to avoid over-drying.
How to Store
- Allow apples to cool completely, then check for dryness (they should be leathery and pliable).
- Condition by placing apples in a jar for 7 days, shaking daily. If condensation appears, dehydrate longer.
- Store in airtight jars or containers in a cool, dark place.
Notes
- Sweeter varieties (Fuji, Gala, Honeycrisp) make great snacks; tart apples like Granny Smith stay crisp.
- Add cinnamon or apple pie spice before drying for flavored chips.
- If condensation appears during conditioning, dehydrate for an additional 1–2 hours.


