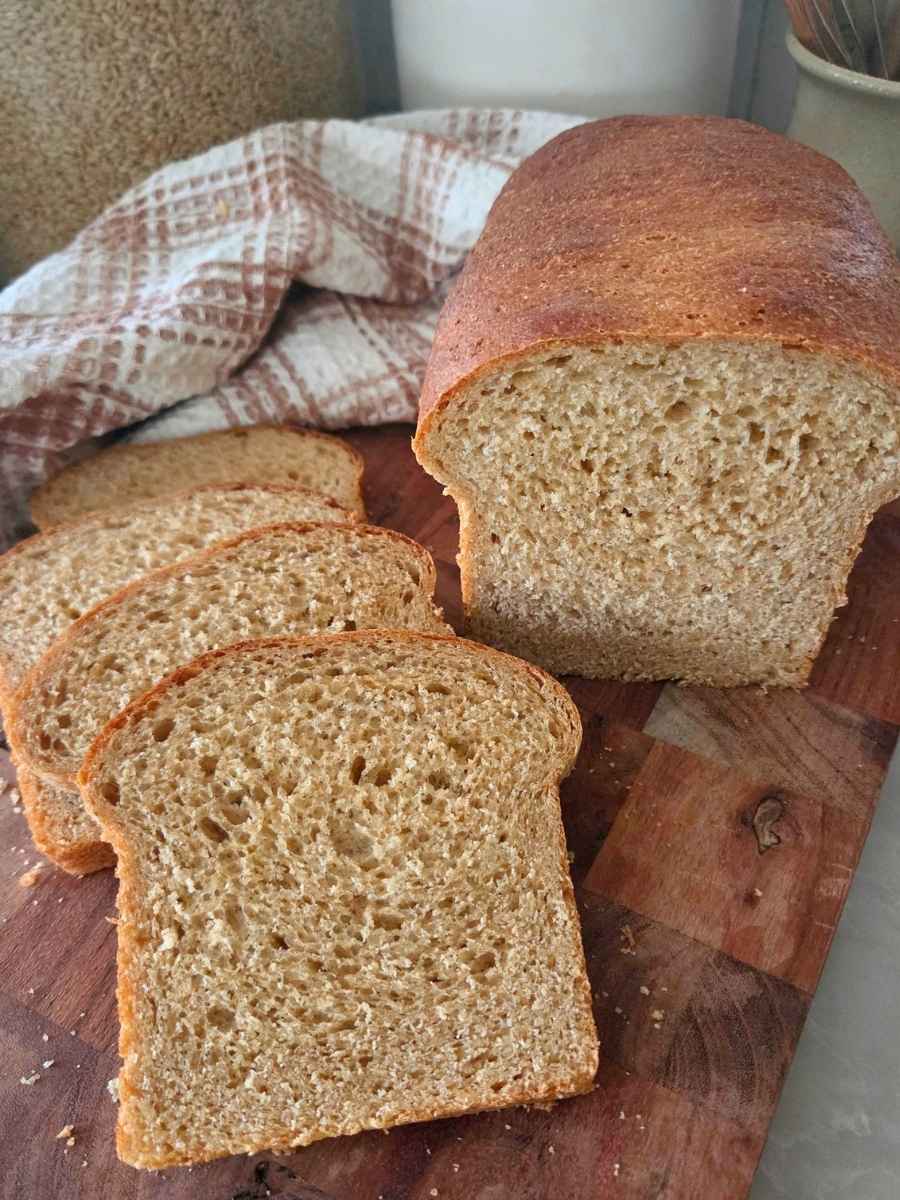
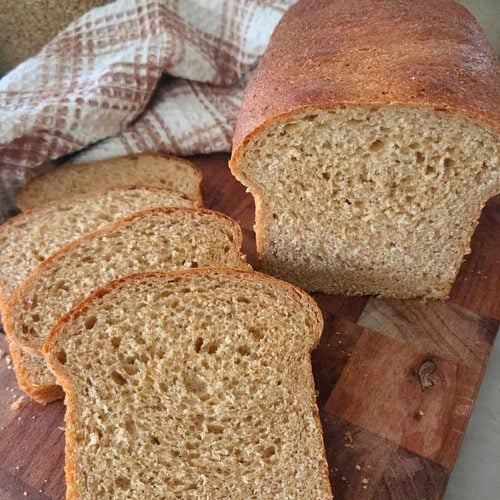
I’ve been testing this fresh milled flour sandwich bread recipe for quite a while, and I finally have a loaf that I love making for our everyday bread! It’s soft, fluffy, easy to make, and holds together well for sandwiches.
This post may contain affiliate links, please read my disclosure policy for details.
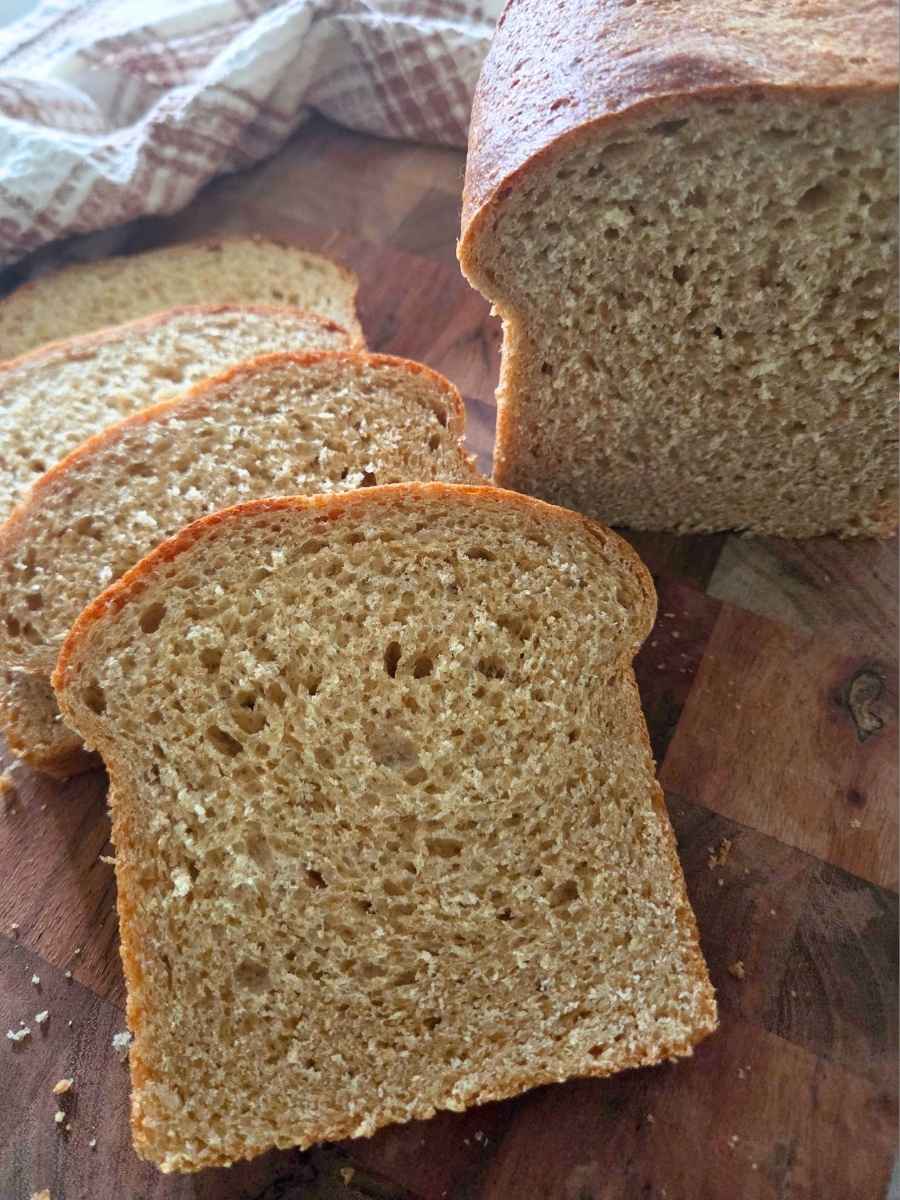
Made with 100% freshly milled wheat, this bread has a soft, tender crumb without needing any white flour or bread flour. Whether we’re making sandwiches, toast, or grilled cheese, it’s become a staple in our house.
Why You’ll Love This Fresh Milled Flour Sandwich Bread Recipe
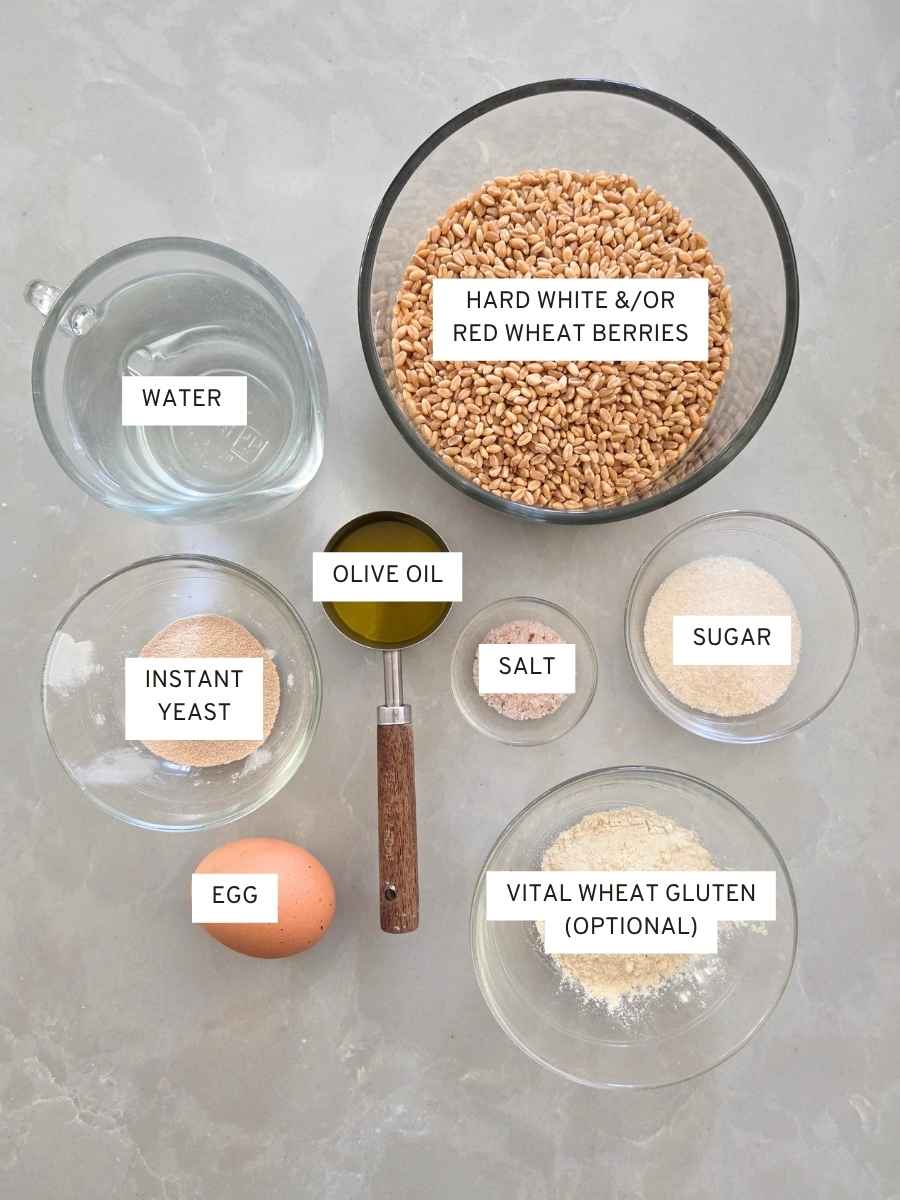
Key Ingredients
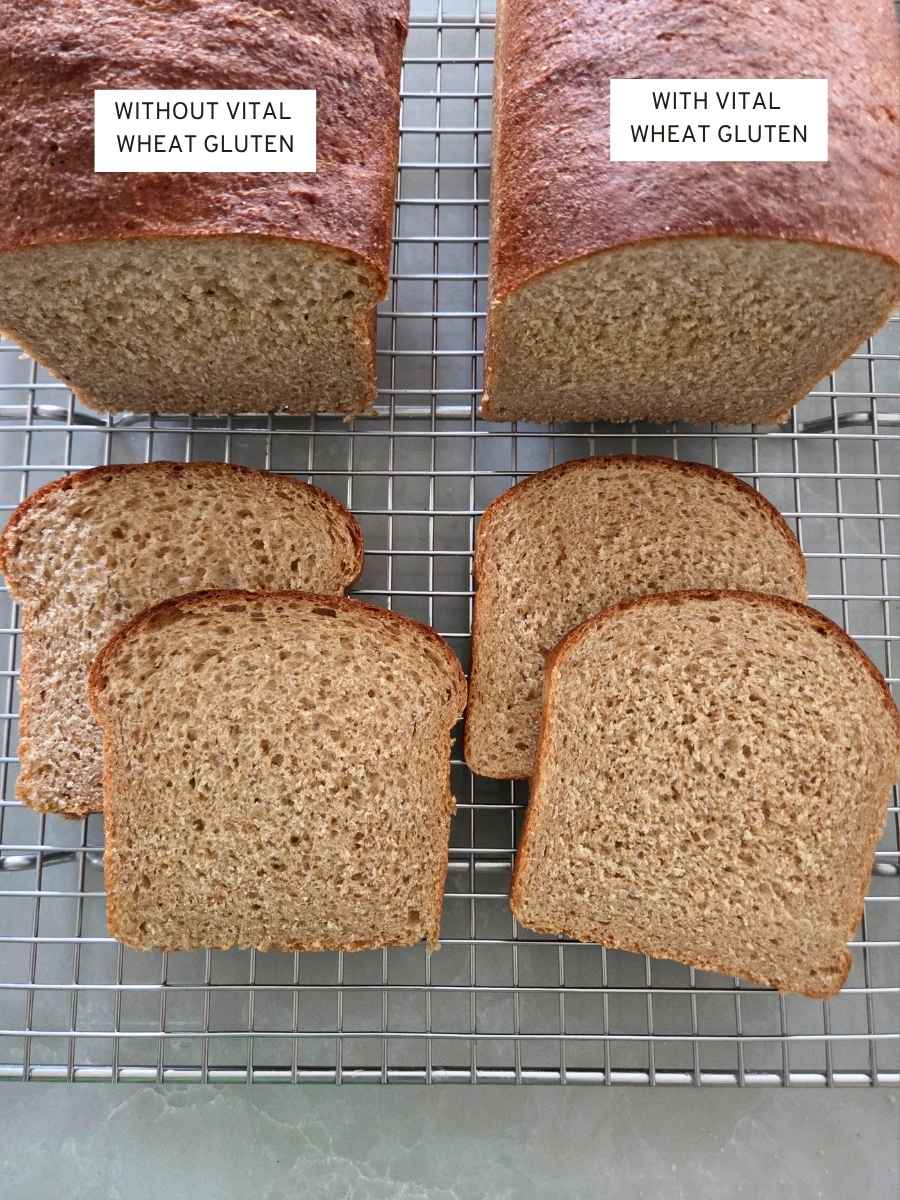
With vs. Without Vital Wheat Gluten
I’ve made this bread both ways, and while both turned out great, I slightly prefer the loaf with vital wheat gluten. It has a finer, more cohesive crumb and feels just a little softer. That said, it’s still a wonderful sandwich bread without it!
How to Use Active Dry Yeast Instead
Set aside ¼ cup of the water and 1 teaspoon of the sugar or honey from the recipe. Warm the water to 100–110°F, stir in the yeast and sugar or honey, and let it sit for 5–10 minutes, or until foamy. Add the mixture after the 20-minute rest, along with the salt, then knead as directed.
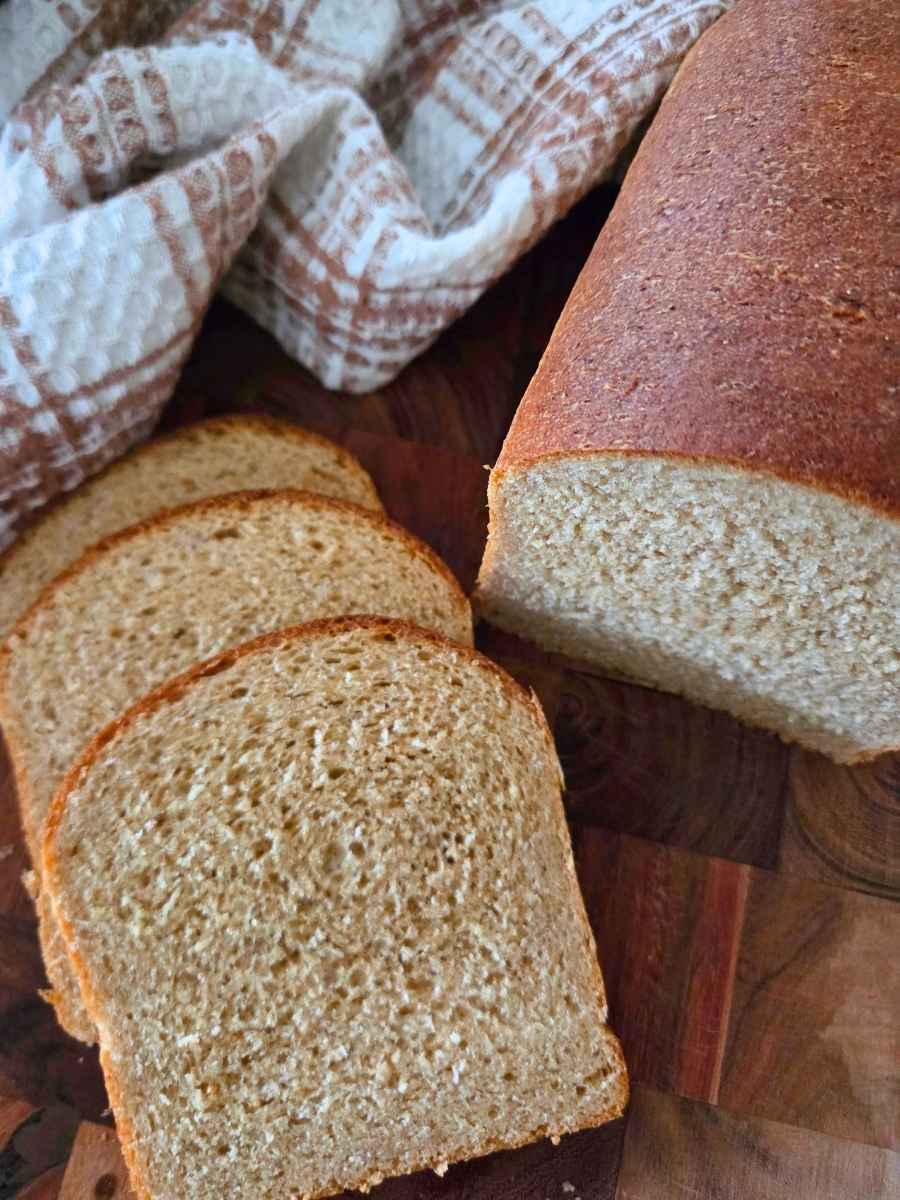
Hard White Wheat vs Hard Red Wheat for Sandwich Bread
Both hard white and hard red wheat are great choices for yeast breads because they have the protein needed to develop a good gluten structure.
Hard white wheat has a milder flavor and lighter color, while hard red wheat has a stronger, more traditional whole-wheat flavor. We really enjoy this bread both ways, so it mostly comes down to the flavor you prefer.
I’ve made this recipe with all hard white and with a combination of hard white and hard red. I actually found that adding some hard red made the dough even more pliable and gave it really nice structure.
You don’t have to mix them, though. You can make this loaf with all hard white, all hard red, or a combination of the two. Try it different ways and see which one your family likes best!
Not sure how much wheat to mill for a recipe? See my Fresh Milled Flour Conversion Chart to easily convert flour measurements to wheat berries.
Tips for Making the Best Fresh Milled Flour Sandwich Bread Recipe
Give the Dough Time to Rest
Freshly milled flour takes time to absorb moisture. Letting the mixed dough rest for 20 minutes before adding the yeast and salt gives the flour time to hydrate and makes the dough easier to work with.
Knead Until Smooth and Pliable
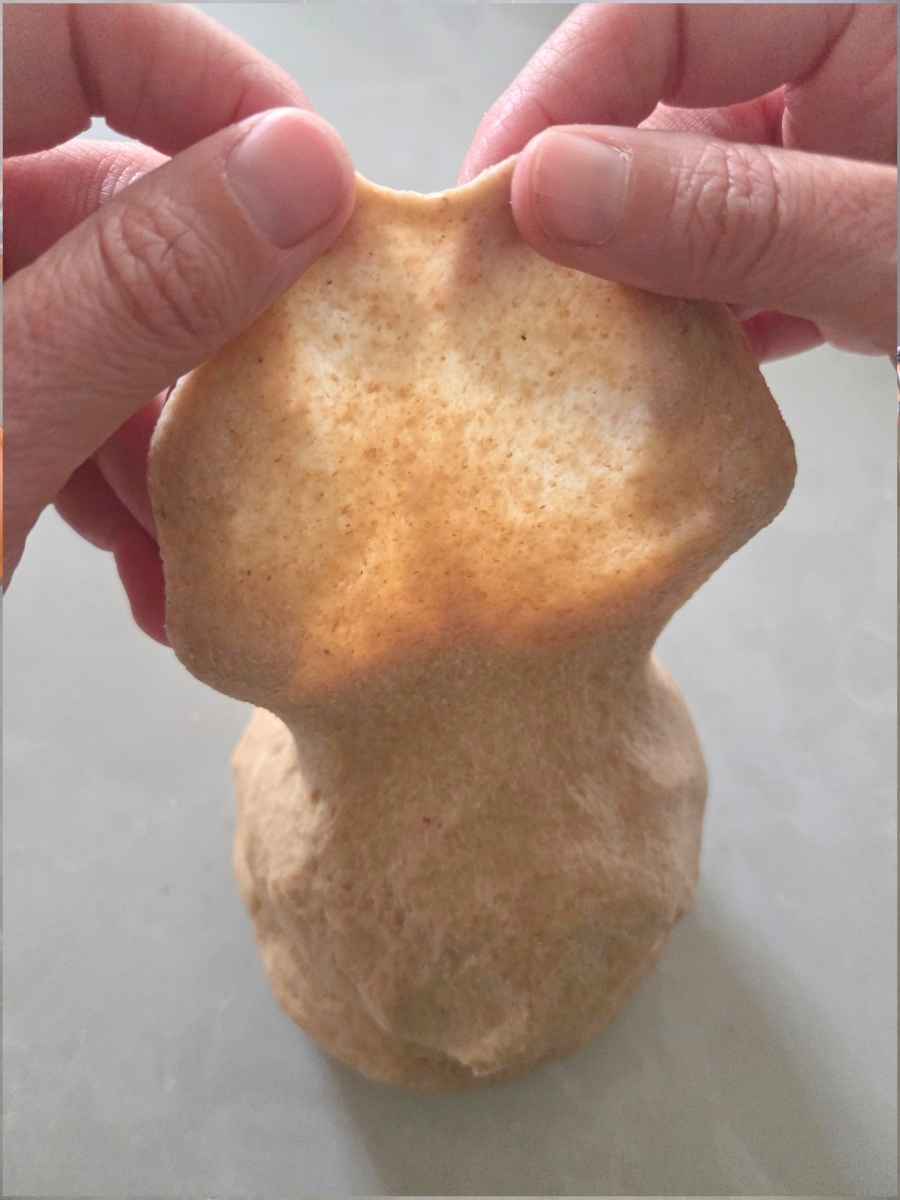
After kneading in the stand mixer for about 10 minutes, the dough should feel soft, stretchy, and pliable. You can check it with the windowpane test by gently stretching a small piece of the dough. It should stretch thin enough to let light through without tearing easily.
Watch the Dough as It Rises
Use the rise times as a guide, but watch the dough instead of the clock. Temperature, yeast activity, and the wheat you use can all affect how quickly it rises.
For the final proof, gently press a finger about ½ inch into the dough. If it springs back quickly, it needs more time. If it slowly springs back and leaves a slight indentation, it’s ready to bake. If the indentation doesn’t spring back and the dough feels fragile, it may be overproofed.
Allow the Bread to Cool Before Slicing
It’s tempting to cut into homemade bread right away, but give it time to cool. The inside continues setting as the loaf cools, and slicing too soon can compress the crumb and make it seem gummy.
What Size Loaf Pan Should I Use?
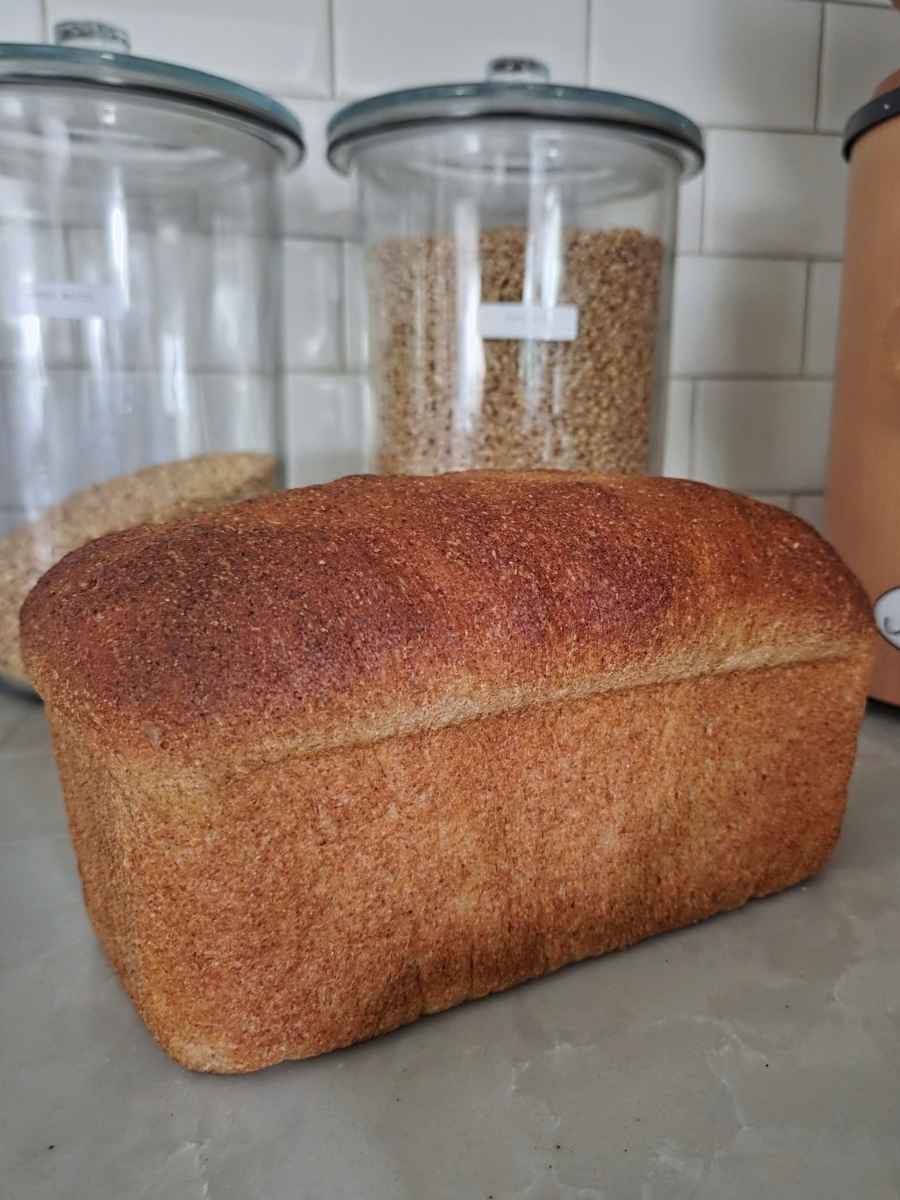
I prefer using an 8×4-inch loaf pan for this recipe because it gives the bread a taller rise and makes nicely shaped sandwich slices. You can also use a 9×5-inch loaf pan, but because it’s larger, your loaf will be a little wider and shorter.
How to Make Fresh Milled Flour Sandwich Bread
Here’s the step-by-step process to show you how to make this fresh milled flour sandwich bread recipe. You’ll find the complete instructions and measurements in the recipe card below.
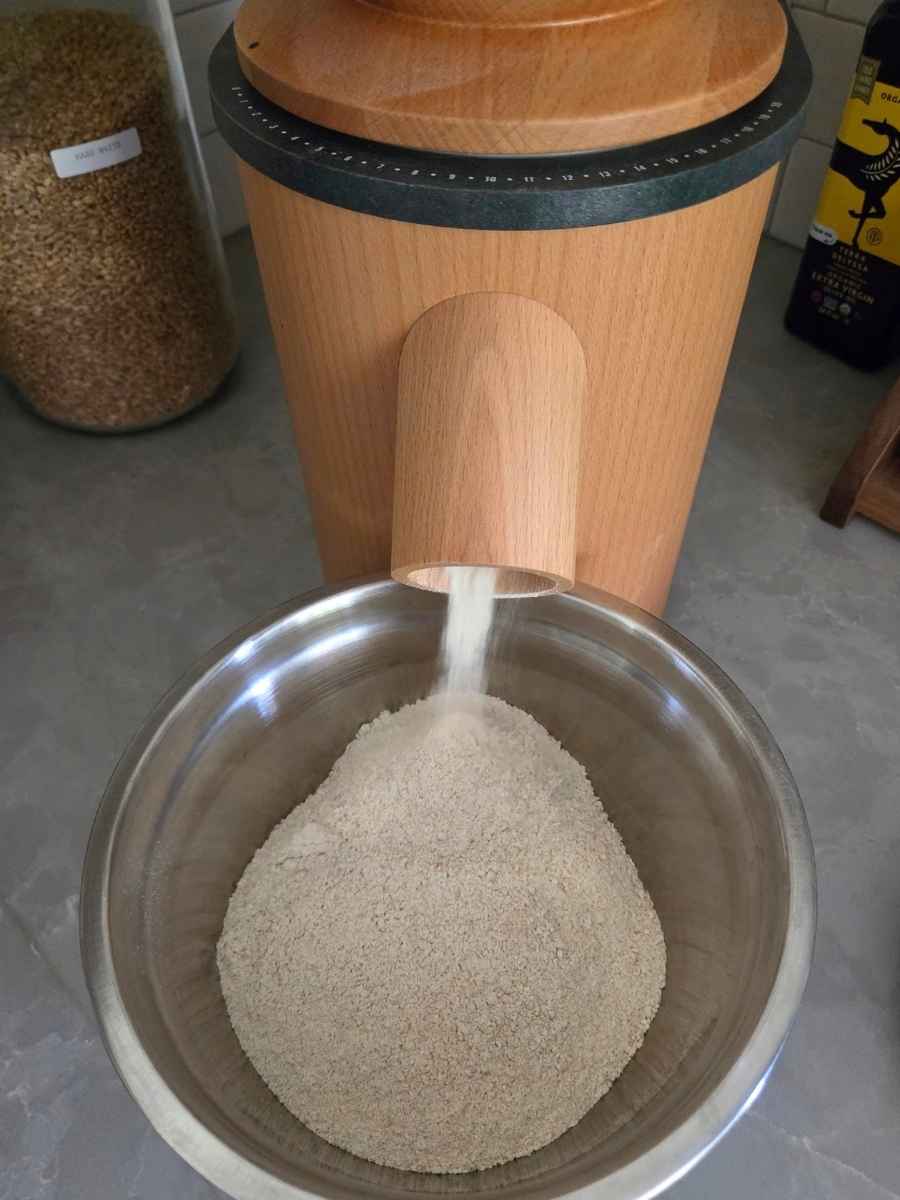
1. Mill the Wheat
Weigh the wheat berries and mill them on the lowest/finest setting of your grain mill.
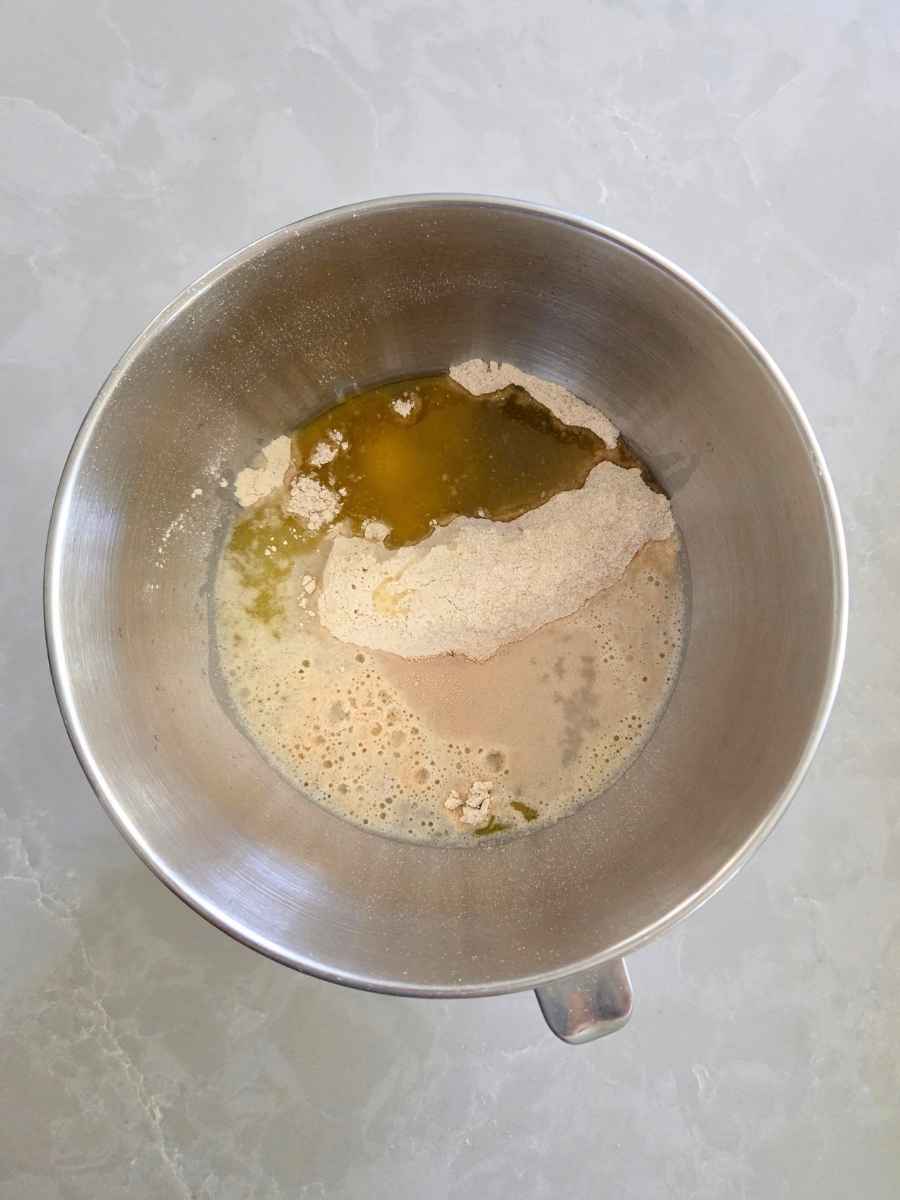
2. Mix the Dough
In the bowl of a stand mixer, add the freshly milled flour, sugar, water, olive oil, egg, and optional vital wheat gluten, and stir with the paddle attachment to combine.
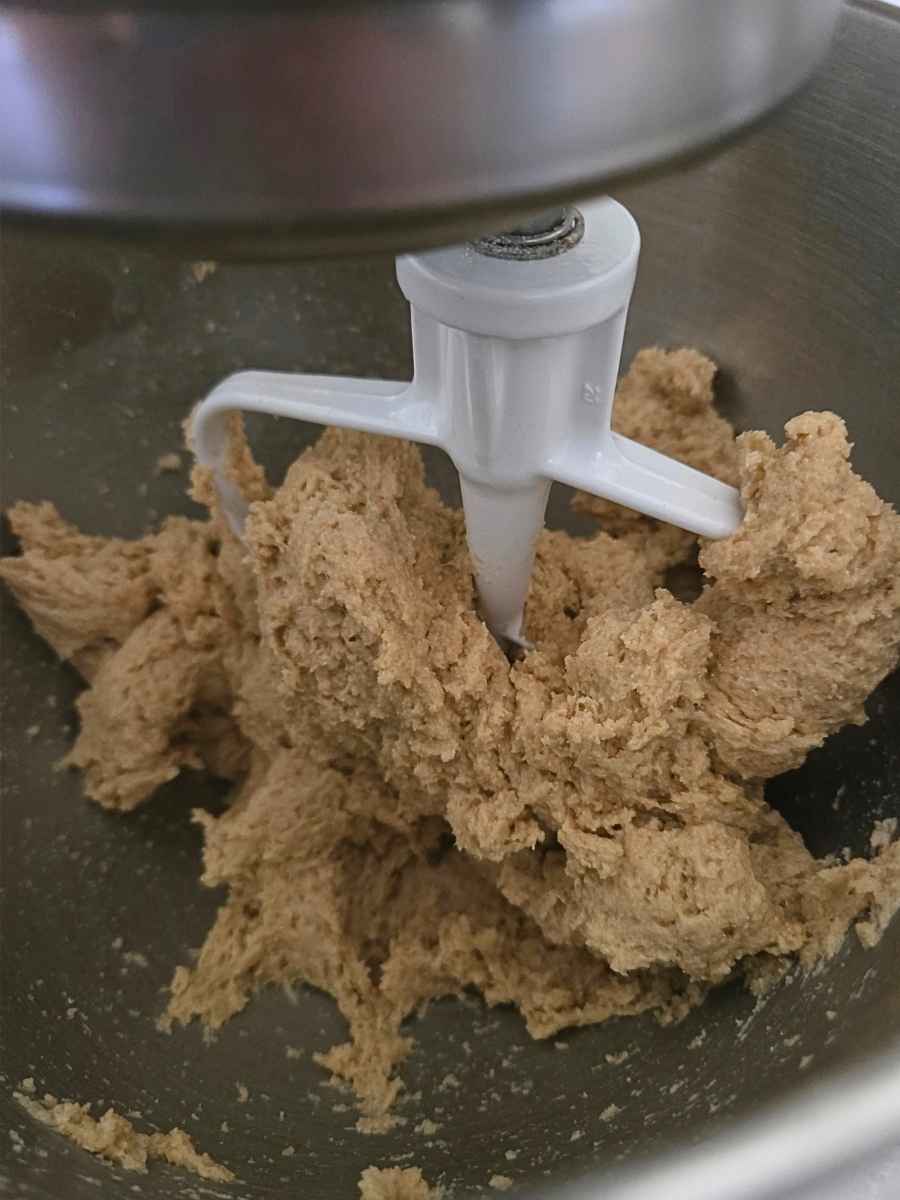
3. Let the Dough Rest
Cover the bowl with plastic wrap and let the dough rest for 20 minutes. This rest gives the freshly milled flour time to absorb the water, making the dough easier to work with when it’s time to knead.
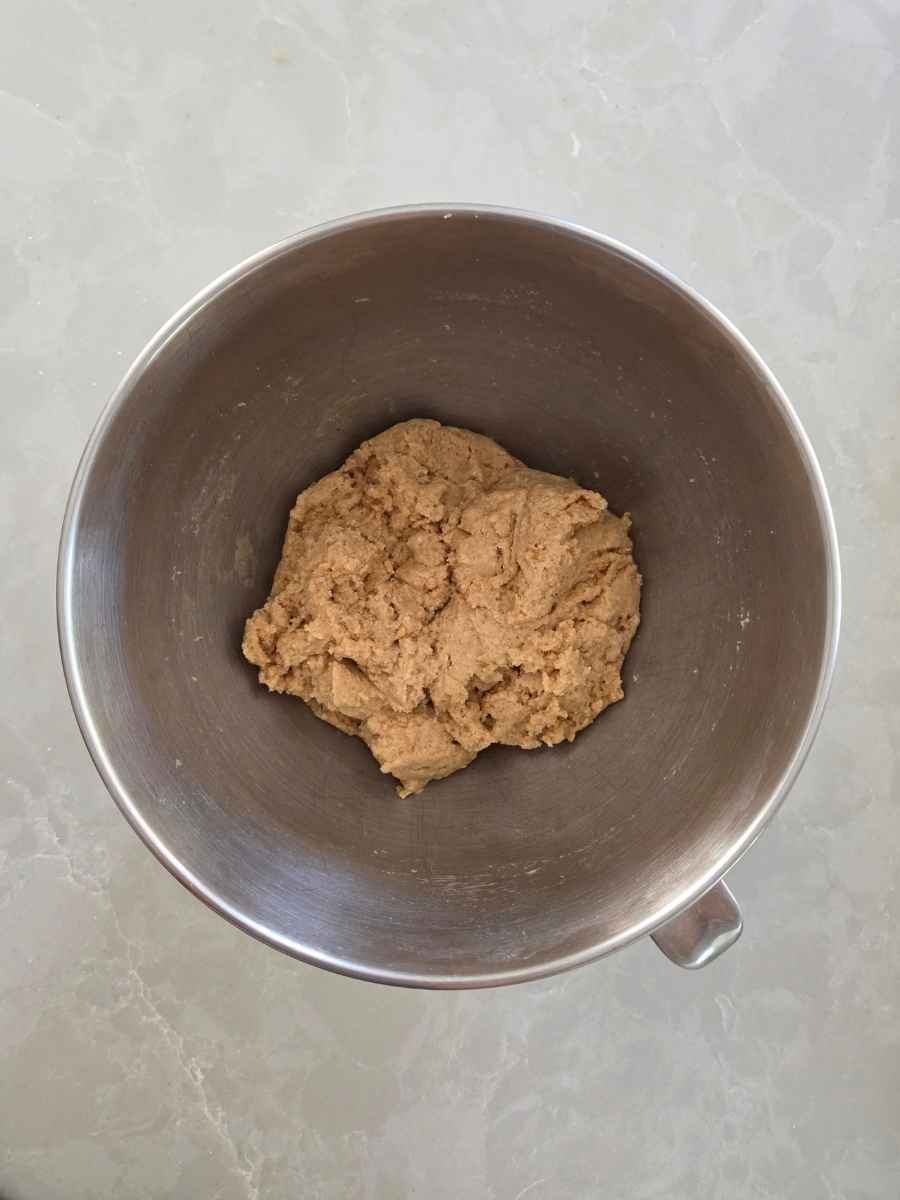
4. Add the Yeast and Salt and Knead
Attach the dough hook to your stand mixer and add the instant yeast and salt.
Knead on low speed for about 10 minutes. I use speed 2 on my KitchenAid.
After kneading, the dough should be soft, stretchy, and pliable. It should also pass the windowpane test, stretching thin enough to let light through without tearing easily.
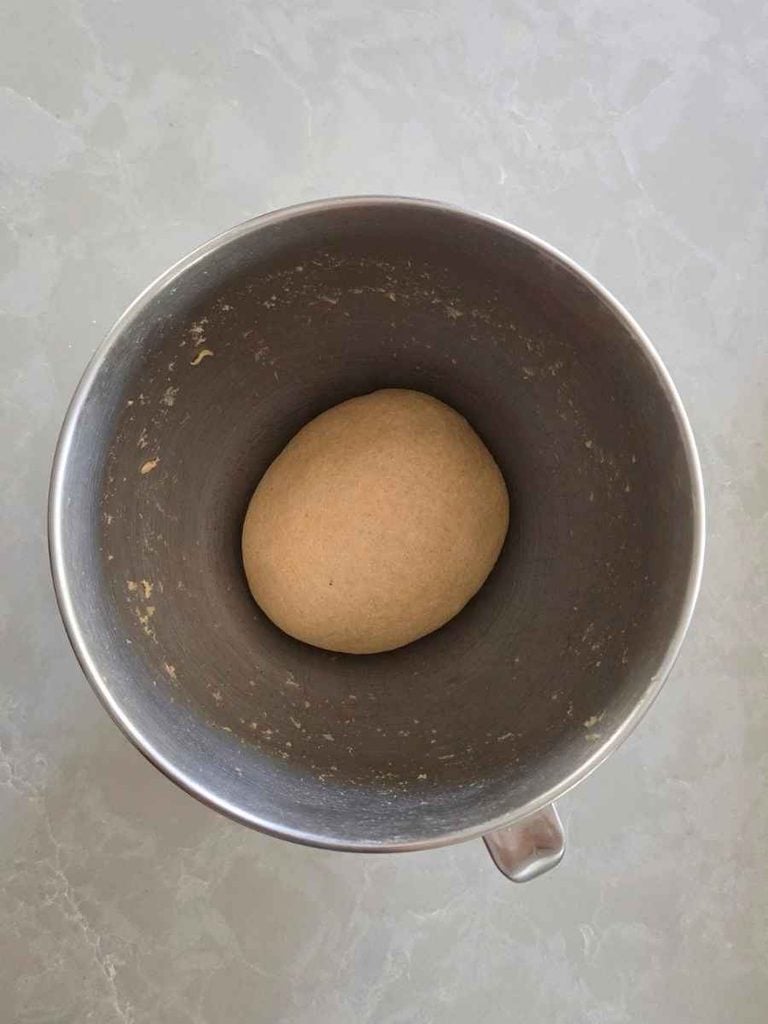
Turn it out onto a clean surface and knead it a few times by hand until the outside is nice and smooth. Shape it into a ball, then return it to the bowl for the first rise.
5. Let the Dough Rise
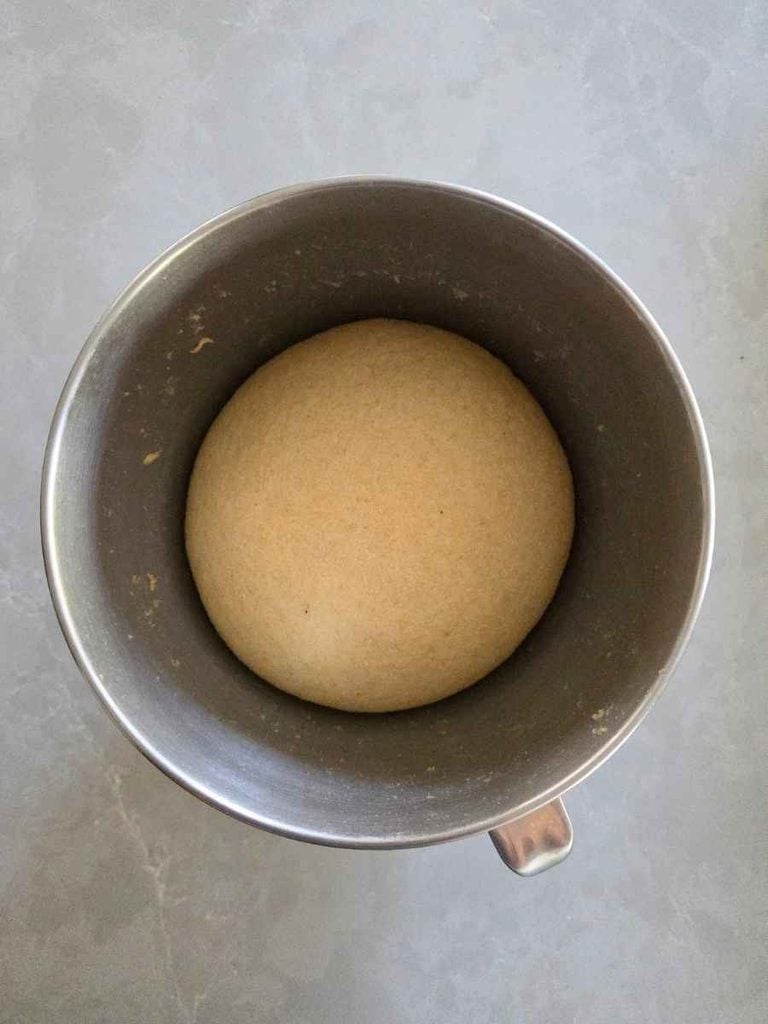
Cover the bowl with plastic wrap and place it in a warm spot for 1 hour, or until doubled in size. I set mine in the oven with the oven turned off and just the light on.
6. Shape the Loaf
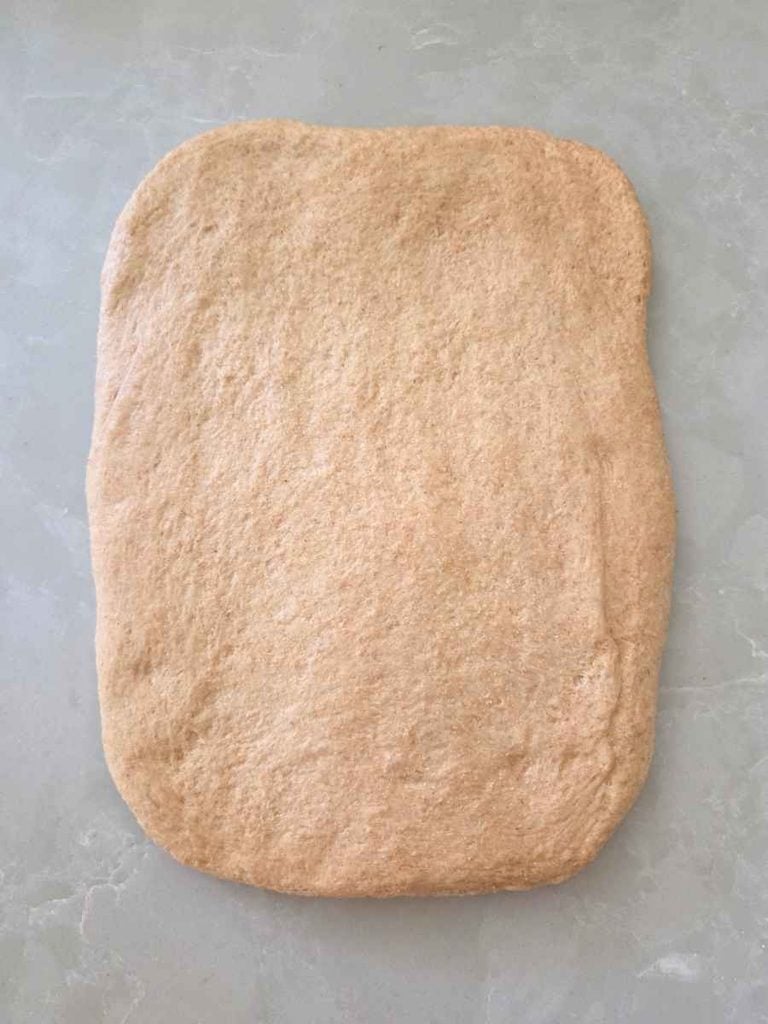
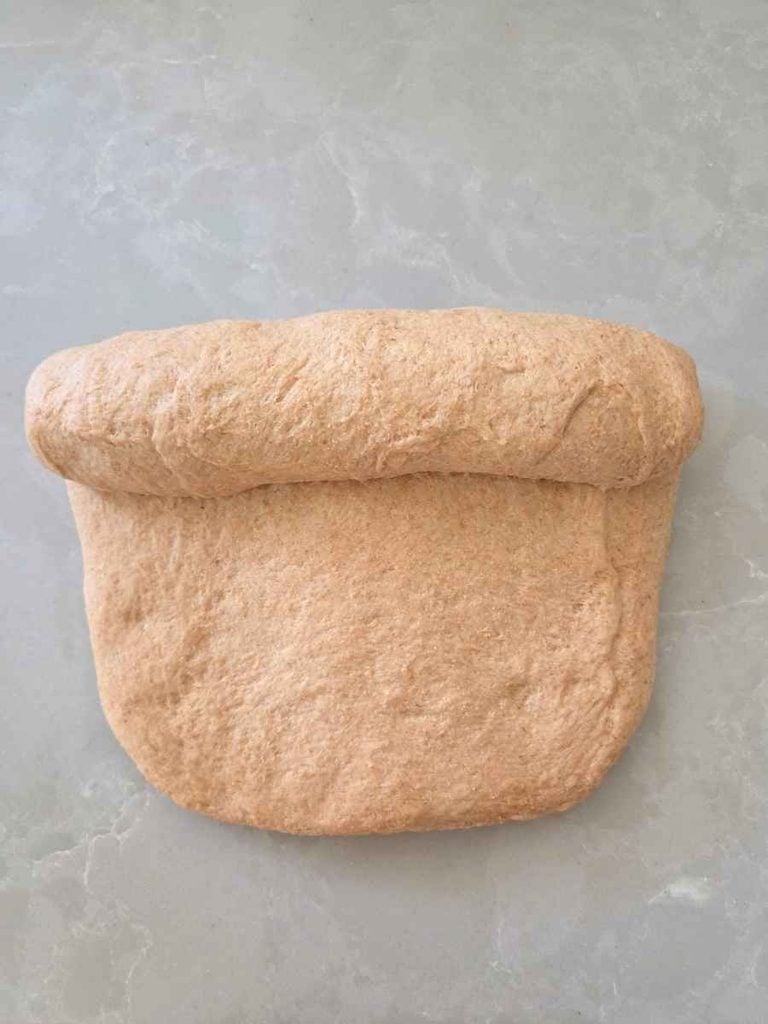
Turn the dough out onto a clean countertop and gently press it into a rectangle. Starting at one of the short ends, roll the dough up tightly into a log. Pinch the seam closed, then tuck the ends underneath to form a smooth loaf.
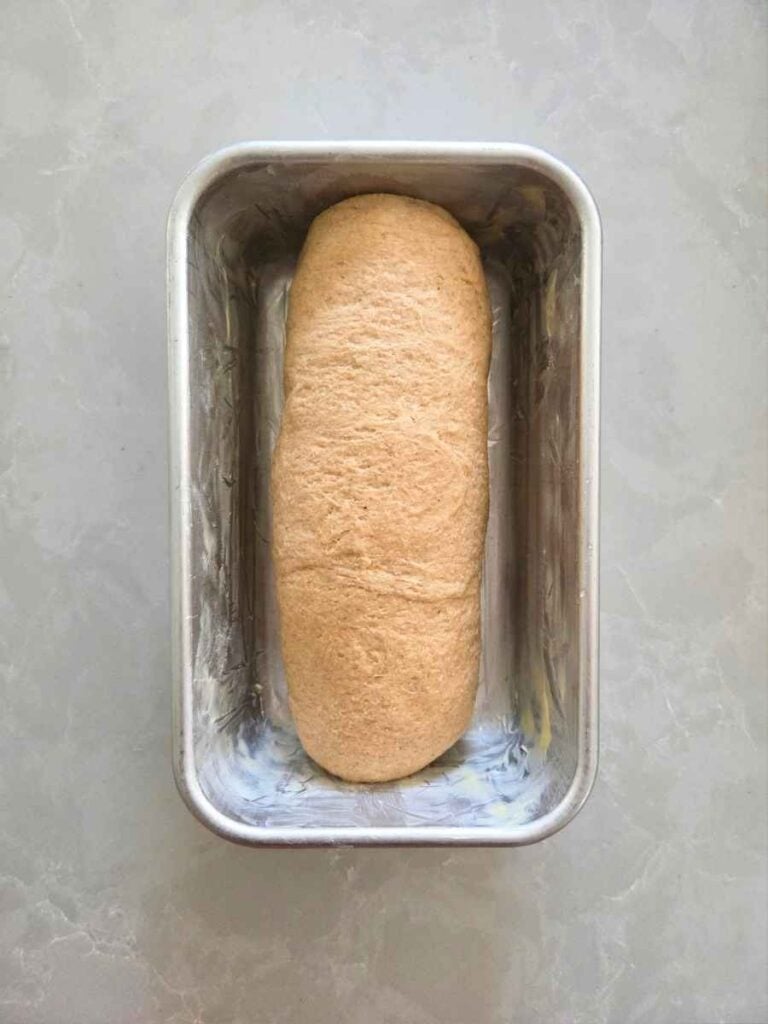
Generously grease an 8×4-inch loaf pan with butter, or line it with parchment paper. Place the shaped dough seam-side down into the prepared pan.
7. Let It Rise Again
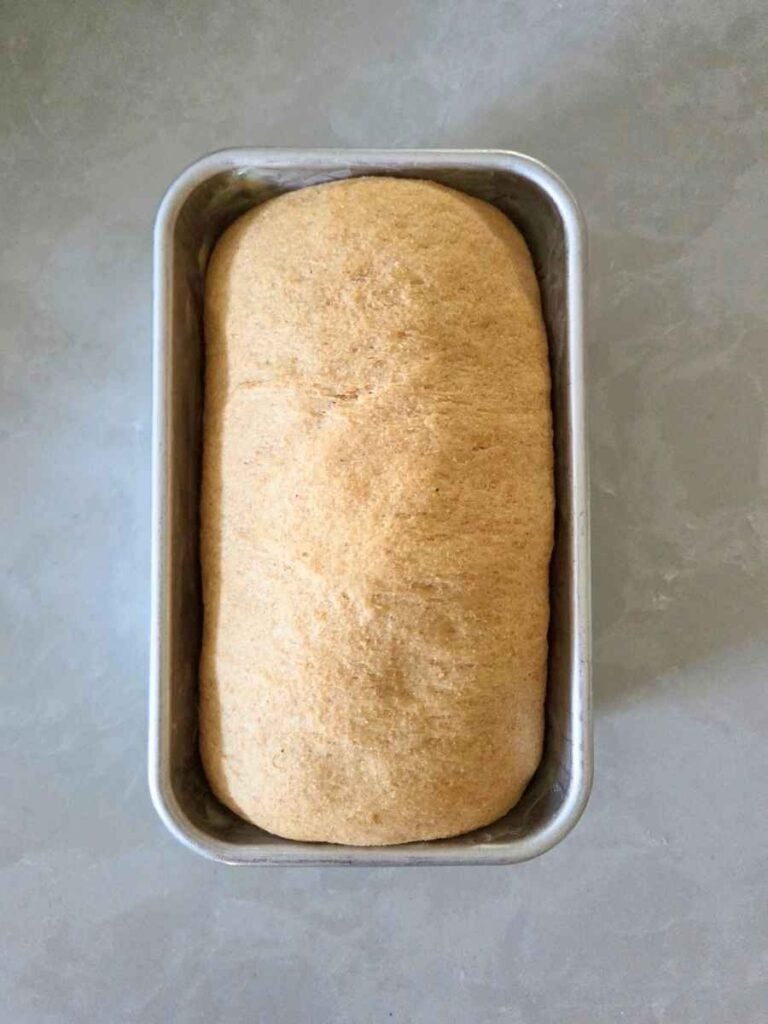
Cover the loaf pan with plastic wrap and return it to a warm spot for about 30 minutes, or until doubled. Use your finger to make a small indentation about ½ inch deep in the dough. If it springs back quickly, it needs more time. If it slowly springs back and leaves a slight indentation, it’s ready to bake.
After the rise, preheat the oven to 350°F.
8. Bake
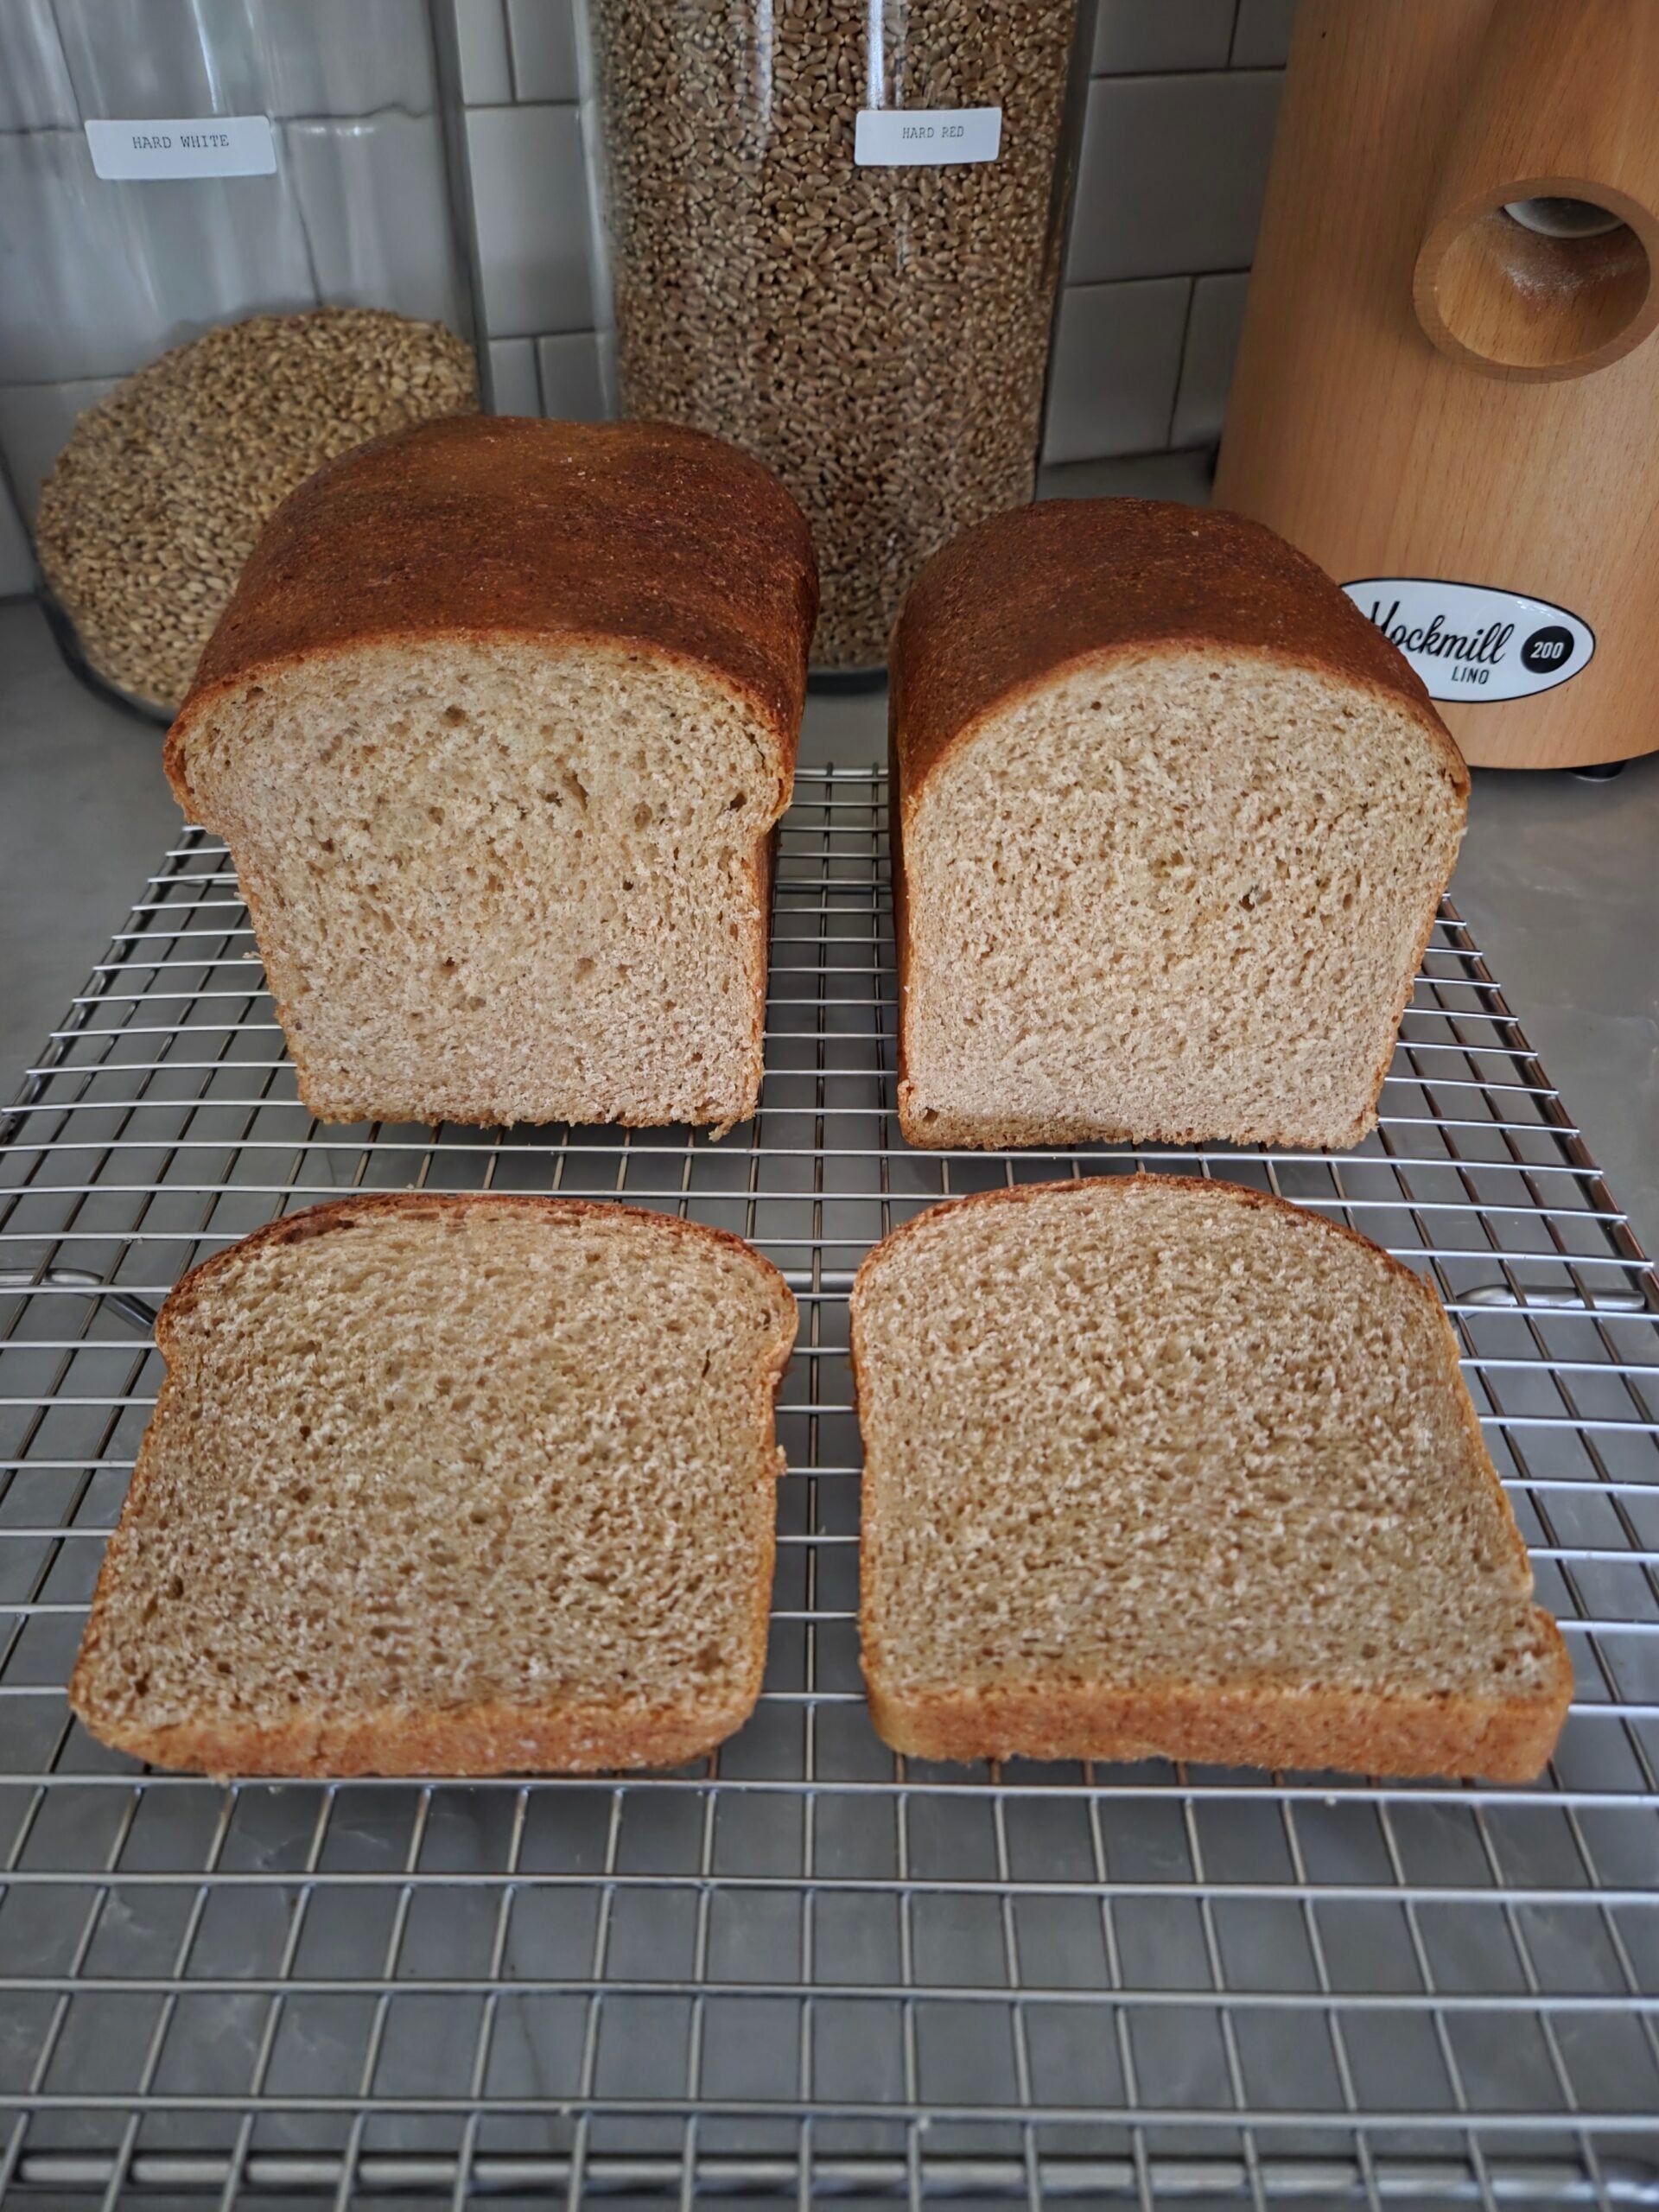
Bake for 30 minutes, or until the top of the loaf is golden brown. I leave mine in the pan for 5–10 minutes before moving it to a cooling rack. As tempting as it is to cut into a fresh loaf, I let it cool completely so the inside doesn’t get compressed or gummy when sliced.
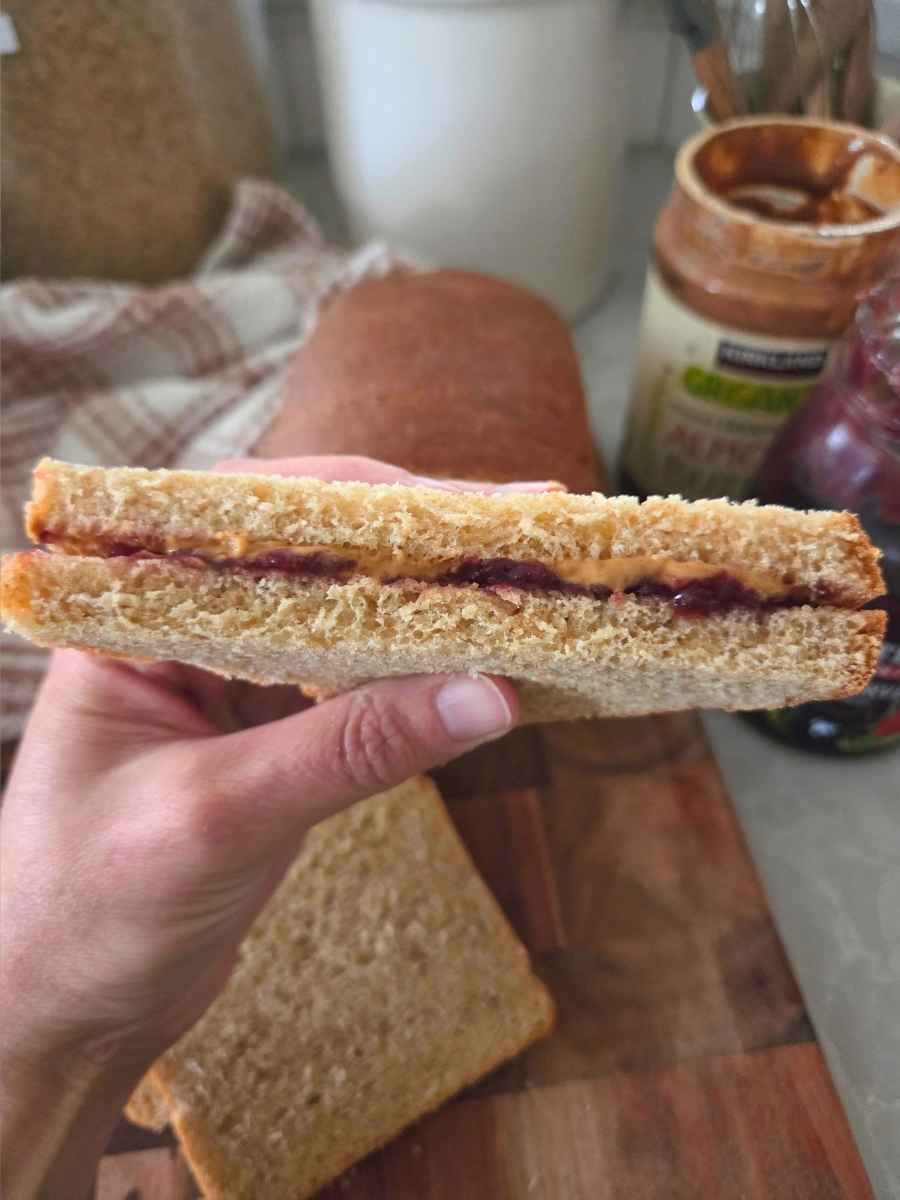
Ways to Enjoy this Fresh Milled Flour Sandwich Bread
This bread makes wonderful everyday sandwiches! Here are a few of our favorite ways to enjoy it:
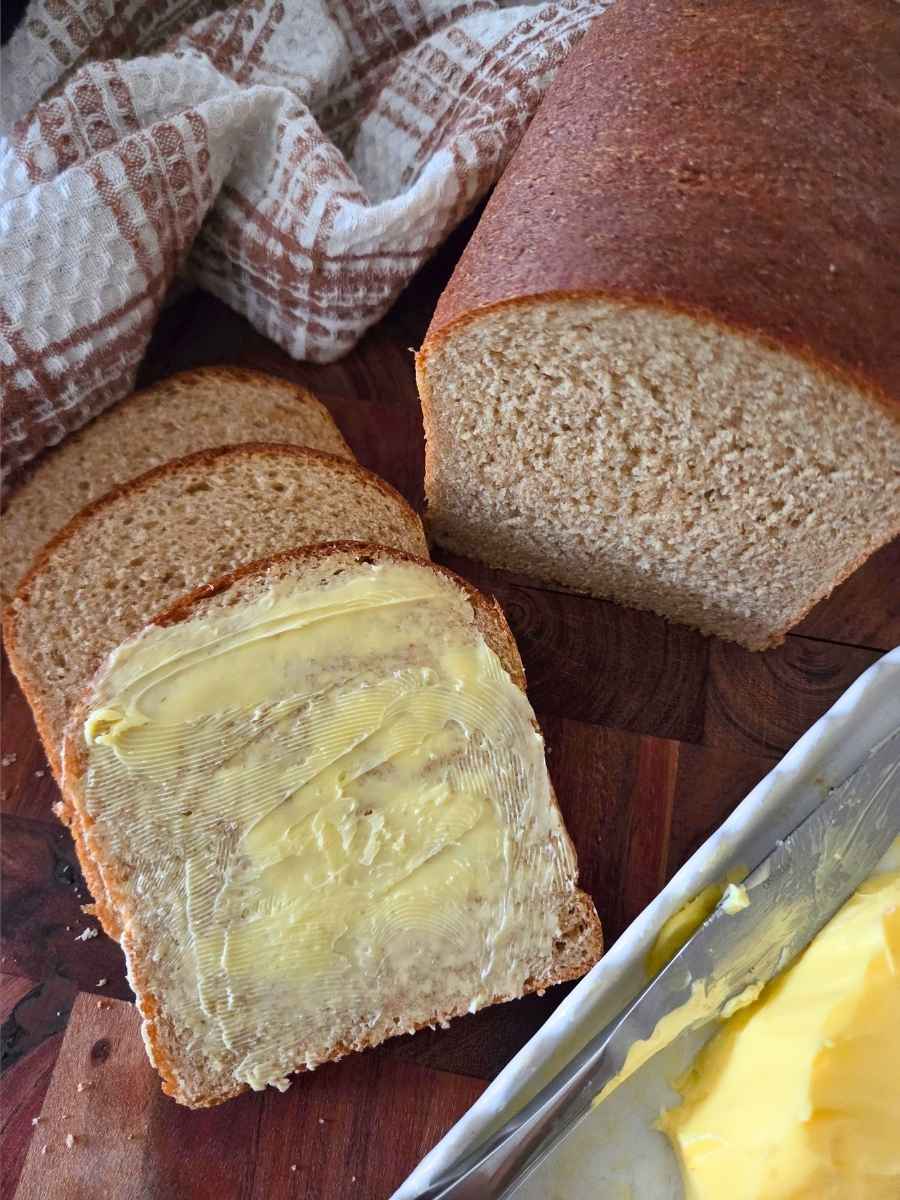
It’s also delicious simply sliced and served with a little butter!
How to Store Fresh Milled Flour Sandwich Bread
Let the loaf cool completely before storing it.
Keep the bread in an airtight container or sealed bread bag at room temperature and enjoy it within a few days.
For longer storage, slice the completely cooled loaf and put it in a freezer-safe bag or container. Then pull out individual slices as needed.
FAQ
More Fresh Milled Flour Bread Recipes
Fresh Milled Flour Sandwich Bread Recipe
Equipment
- Grain mill
- Kitchen scale
- Stand mixer
- 8×4" loaf pan
Ingredients
- 220 g hard white wheat berries (see notes)
- 220 g hard red wheat berries (see notes)
- 1 cup water (240 g)
- ¼ cup extra-virgin olive oil or melted butter
- 1 egg
- 2 tablespoons sugar or honey
- 2 tablespoons vital wheat gluten optional
- 2¼ teaspoons instant yeast or active dry (see notes)
- 1¼ teaspoons salt
Instructions
- Mill the Wheat: Weigh out your wheat berries and mill them on the lowest/finest setting of your grain mill.
- Mix the Dough: In the bowl of a stand mixer, add the freshly milled flour, sugar, water, olive oil, egg, and optional vital wheat gluten, and stir with the paddle attachment to combine.
- Let the Dough Rest: Cover the bowl with plastic wrap and let the dough rest for 20 minutes. This rest gives the freshly milled flour time to absorb the water, making the dough easier to work with when it's time to knead.
- Add the Yeast and Salt and Knead: Attach the dough hook to your stand mixer and add the instant yeast and salt. Knead on low speed for about 10 minutes. I use speed 2 on my KitchenAid.After kneading, the dough should be soft, stretchy, and pliable. It should also pass the windowpane test, stretching thin enough to let light through without tearing easily.Turn it out onto a clean surface and knead it a few times by hand until the outside is nice and smooth. Shape it into a ball, then return it to the bowl for the first rise.
- Let the Dough Rise: Cover the bowl with plastic wrap and place it in a warm spot for about 1 hour, or until doubled in size. I set mine in the oven with the oven turned off and just the light on.
- Shape the Loaf: Place the dough on a clean countertop and gently press it into a rectangle. Starting at one of the short ends, roll the dough up tightly into a log. Pinch the seam closed, then tuck the ends underneath to form a smooth loaf. Generously grease an 8×4-inch loaf pan with butter, or line it with parchment paper. Place the shaped dough seam-side down into the prepared pan
- Let It Rise Again: Cover the loaf pan with plastic wrap and return it to a warm spot for about 30 minutes, or until doubled. Use your finger to make a small indentation about ½ inch deep in the dough. If it springs back quickly, it needs more time. If it slowly springs back and leaves a slight indentation, it's ready to bake.After the rise, preheat the oven to 350°F.
- Bake: Bake for 30 minutes, or until the top of the loaf is golden brown. I leave mine in the pan for 5–10 minutes before moving it to a cooling rack. As tempting as it is to cut into a fresh loaf, I let it cool completely so the inside doesn't get compressed or gummy when sliced.
Notes
Did you make this recipe?
I’d love to hear how it turned out! Leave a comment below or share a photo with me on Facebook!